
Call Us! 702-901-2040
Call Us! 702-901-2040
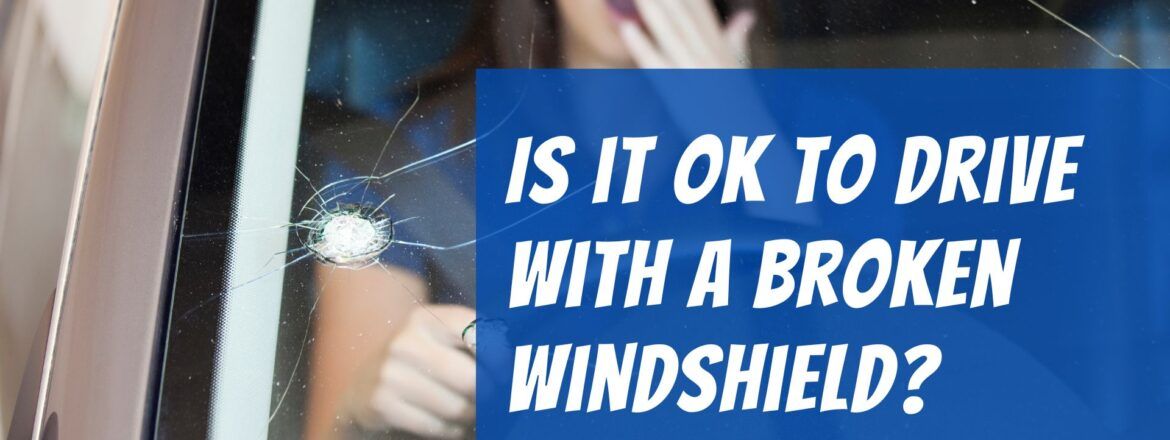
Replacing A Cracked Windshield At Your Home in 8 Easy Steps
A cracked windshield can compromise your safety and the structural integrity of your vehicle. It’s essential to replace it promptly to ensure clear visibility and maintain the vehicle’s safety features. In this step-by-step guide, we’ll walk you through the process of replacing a cracked windshield.
Note: Replacing a cracked windshield is a complex and potentially dangerous task. If you’re not comfortable with automotive repairs or lack the necessary tools and experience, it’s highly recommended to consult a professional auto glass repair technician for this job.
Tools and Materials You’ll Need For Replacing A Cracked Windshield:
Safety glasses and gloves
Screwdrivers and pliers
Utility knife or windshield removal tool
Replacement windshield (specific to your car’s make and model)
Windshield adhesive
Caulk gun
Protective tarp or sheet
Ratchet and socket set
Sealant primer (if required)
Windshield trim and moulding (if applicable)
8 Easy Steps For Replacing A Cracked Windshield:
Step 1: Safety Precautions
Safety is of utmost importance during this process. Begin by putting on safety glasses and gloves to protect your eyes and hands.
Step 2: Prepare the Work Area
Select a Suitable Location: Perform the replacement in a clean, dry, and well-ventilated area, such as a garage. Ensure the workspace is free of dust and debris.
Protect the Vehicle: Place a protective tarp or sheet over the vehicle’s hood and fenders to prevent damage during the windshield removal process.
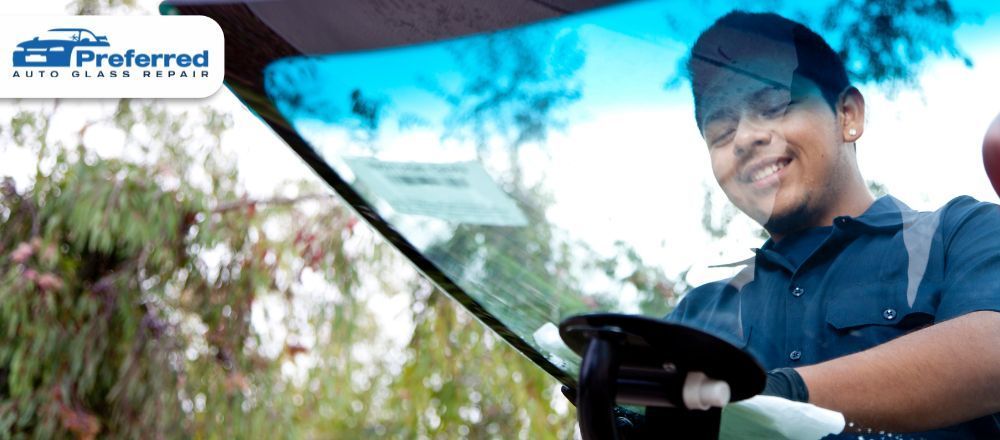
Step 3: Remove the Old Windshield
Interior Trim Removal: Remove any interior trim or moulding that may obstruct access to the windshield. This usually involves carefully prying it away from the frame using screwdrivers or trim removal tools.
Disconnect Electrical Components: If your vehicle has electrical components, such as defrost wires or sensors, disconnect them carefully to avoid damage during removal.
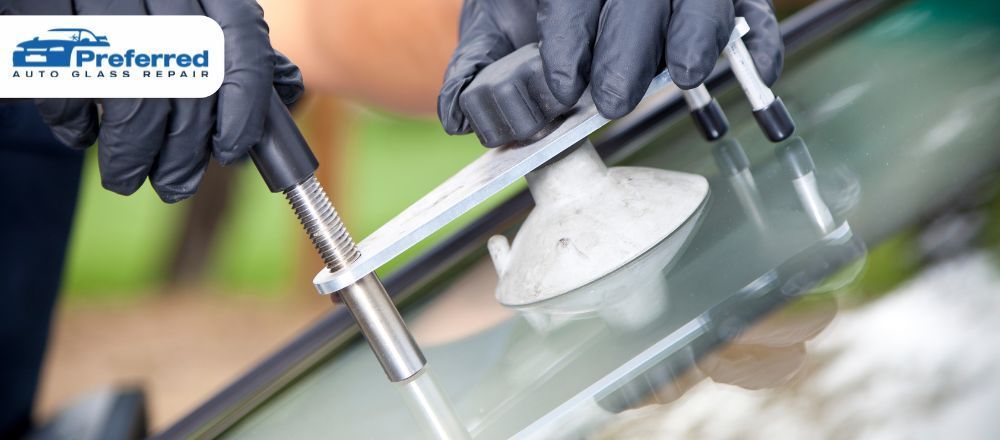
Cut the Seal: Use a utility knife or windshield removal tool to cut through the adhesive seal holding the windshield in place. Start from one corner and work your way around the perimeter. Take your time to ensure the seal is cut cleanly.
Carefully Remove the Windshield: With the seal cut, gently push or pull the old windshield out from inside the vehicle. Be cautious not to force it or apply excessive pressure, as this could cause the glass to shatter.
Step 4: Prepare for Installation
Clean the Frame: Clean the frame where the old adhesive remains using a suitable solvent or adhesive remover. Ensure it’s free from any debris or old adhesive.
Prime the Frame (if necessary): Some vehicles may require the application of a sealant primer to ensure proper adhesion. Check your vehicle’s specifications and follow the manufacturer’s instructions.
Step 5: Install the New Windshield
Position the New Windshield: Carefully place the new windshield into the frame, ensuring it fits securely and aligns correctly with the frame’s edges.
Apply Adhesive: Using a caulking gun, apply a bead of windshield adhesive to the frame where the old adhesive was removed. Follow the manufacturer’s recommendations for the type and amount of adhesive to use.
Install the Windshield: Gently press the new windshield into the adhesive, making sure it’s centred and properly seated. Apply gentle pressure to ensure a secure bond.
Reconnect Electrical Components: If your vehicle has defrosted wires or sensors, reconnect them according to the manufacturer’s instructions.
Step 6: Secure the Windshield
Allow Adhesive to Cure: Let the adhesive cure for the recommended time, as specified by the manufacturer. This is typically 24 hours.
Replace Interior Trim and Molding:
Reinstall any interior trim or moulding that you removed earlier. Ensure it’s correctly aligned and securely fastened.
Step 7: Final Checks
Visual Inspection: Inspect the new windshield for any visible defects, such as gaps or imperfections in the seal.
Operational Test: Test any electrical components, such as defrost or rain sensors, to ensure they function correctly.
Step 8: Cleanup and Dispose
Dispose of any waste materials, such as the old windshield and adhesive tubes, properly. Clean your tools and workspace, leaving it free of debris.
Conclusion:
Replacing a cracked windshield is a complex task that requires precision and care. If you have any doubts about your ability to complete the job correctly or if your vehicle has specific requirements, consult a professional auto technician for safe and proper windshield replacement.


CONTACT US
Phone Number: 702-901-2040
Email: preferredautoglassrepair@gmail.com
Address: 57 East Ford Avenue
Las Vegas, Nevada 89123
BUSINESS HOURS
Mon - Sat 7 a.m. - 7 p.m.
Sun 9 a.m. - 5 p.m.