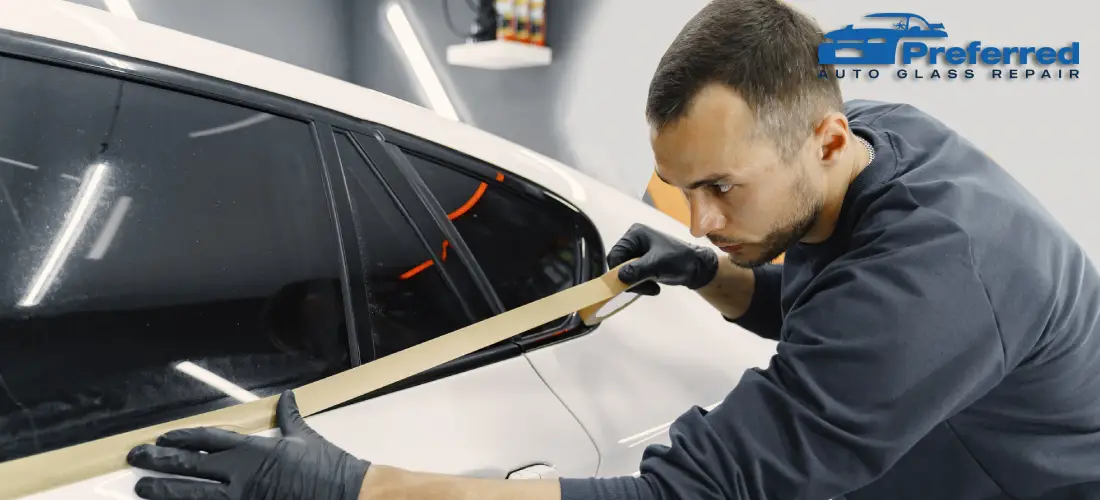
A broken car window can be a significant inconvenience and a security risk. Whether your window was damaged in an accident, due to vandalism, or some other reason, replacing it is a task that you can tackle with some patience and the right tools. In this step-by-step guide, we’ll walk you through the how to replace a car window at your home.
Note: Replacing a car window can vary in complexity depending on your vehicle’s make and model. It’s essential to consult your car’s manual for any specific instructions related to your vehicle. If you’re not comfortable with this task, consider seeking professional auto glass repair assistance.
Tools and Materials You’ll Need To Replace A Car Window:
- Safety glasses and gloves
- Screwdrivers and pliers
- Trim panel removal tools
- Replacement window (specific to your car’s make and model)
- Adhesive (if applicable)
- Caulk gun (if applicable)
- Protective tarp or sheet
- Razor blade or utility knife
- Window cleaner and a microfiber cloth
7 Easiest Steps To Repalce A Car Window
Step 1: Safety Precautions
Safety should be your top priority when working on your car. Start by putting on safety glasses and gloves to protect your eyes and hands.
Step 2: Remove the Broken Glass
- Safety First: Ensure that the car is parked on a flat, stable surface with the engine turned off. Remove any glass shards inside the vehicle carefully, using a vacuum cleaner if necessary.
- Window Trim Removal: If your car’s window has trim or molding around it, carefully remove it using trim panel removal tools, screwdrivers, or pliers. Be cautious not to damage the trim as it may be reused.
- Remove Any Remaining Glass: Use a razor blade or utility knife to carefully remove any remaining pieces of glass from the window frame. Be extremely cautious to avoid injury.
Step 3: Prepare the Window Frame
- Clean the Frame: Clean the window frame thoroughly using a window cleaner and a microfiber cloth. Ensure that the frame is free from dirt, debris, and old adhesive.
- Inspect the Frame: Check the window frame for any signs of damage or rust. If there’s rust, you may need to address it before proceeding with the replacement.

Step 4: Install the New Window
- Position the Window: Carefully place the new window into the frame, ensuring that it fits securely and aligns properly with the frame’s edges.
- Secure the Window: Depending on your car’s make and model, you may need to use adhesive to secure the window in place. Follow the manufacturer’s instructions for applying the adhesive and allow it to set as directed.
- Reinstall Trim: If you removed any trim or molding in Step 2, reinstall it around the new window. Ensure it’s properly aligned and securely fastened.
Step 5: Clean Up and Test
- Cleanup: Remove any excess adhesive or caulk using a razor blade or utility knife. Clean the new window using window cleaner to remove any smudges or residue.
- Operational Test: Before finishing the process, test the new window to ensure it functions correctly. Roll it up and down to make sure it operates smoothly.
Step 6: Final Checks
- Check Sealing: Inspect the seal around the window for any gaps or imperfections. If necessary, apply additional sealant to ensure a watertight seal.
- Tighten Trim: Ensure that any trim or molding is securely in place and correctly aligned.
Step 7: Cleanup and Dispose
Dispose of the broken glass and any other waste materials properly. Clean your tools and workspace, and make sure you leave no debris behind.
It requires attention to detail and patience to replace a car window at home. If you’re unsure about any aspect of the process or if your car’s window replacement is particularly complex, it’s always advisable to seek the assistance of a professional auto glass repair technician to ensure the job is done safely and correctly.

